
A Step-by-Step Guide

At Creatorluxe, we’re passionate about sharing our knowledge and helping others to streamline their creative workflows. In our latest tutorial, we dive deep into the world of Adobe After Effects, specifically focusing on a feature that can significantly enhance your animation process: the auto trace function. Today, I’m excited to transform the insights from that video into a comprehensive blog post, designed to help you trace objects in after effects with ease.
The Power of Auto Trace
When working with Adobe After Effects, one might instinctively start manually creating masks for each shape within an image or logo. However, this can be a time-consuming task, especially when dealing with complex designs. Fortunately, After Effects offers a built-in solution to automate this process, saving you valuable time and effort.
Getting Started with Auto Trace
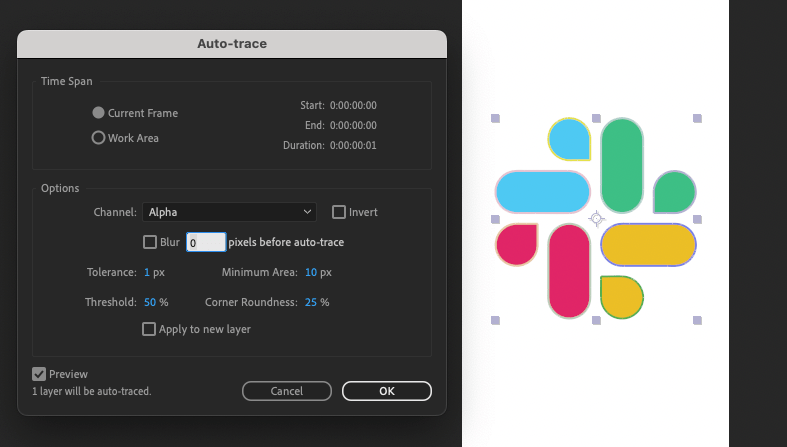
To begin using the Auto Trace feature, simply select the layer you wish to work on, navigate to the “Layer” menu, and choose “Auto Trace.” This action prompts a dialog box that works its magic, tracing and creating masks for each shape within your image. It’s important to note that this feature excels when used with images that have no background, such as PNG files. For optimal results, I recommend leaving the channel set to alpha.
Fine-Tuning Your Tracing
Accuracy is key when tracing shapes, and the Auto Trace feature provides the flexibility to adjust settings for more precise results. By tweaking the tolerance setting, you can control how closely the trace follows the shape. A lower tolerance number yields a more exact trace, ensuring that your masks match the shapes with greater fidelity.
Converting Masks to Shape Layers
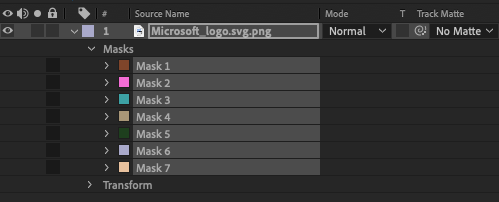
Once you’ve created your masks, the next step is to convert them into shape layers, which will allow you to animate them as you see fit. This conversion process is straightforward and sets the stage for bringing your images or logos to life.
Handling Images Without Transparent Backgrounds
Not all images come with the convenience of a transparent background. Take, for example, the Microsoft logo. In such cases, you’ll need to adjust the channel settings to isolate the specific shapes you want to auto trace.
Utilizing Color Key Effect
To isolate shapes in images with non-transparent backgrounds, the color key effects come into play. By applying this effect, you can remove unwanted colors, leaving only the shapes you wish to animate. After isolating the desired shapes, you can then proceed to use the Auto Trace feature to create masks around them.

Cleaning Up Your Project
Before you move on to animating your shapes, it’s crucial to delete any unnecessary masks and color keys. This step ensures a tidy workspace and prevents any potential issues during the animation process.
in conclusion
The Auto Trace feature, coupled with color key effects, offers a powerful way to animate individual shapes within images or logos efficiently. By following the clear instructions and practical examples provided in my tutorial, you can elevate your After Effects skills and produce animations that stand out.
Remember, the key to mastering any software is practice and experimentation. So, take these insights, apply them to your projects, and watch as your animations reach new heights of creativity and professionalism. If you are looking for someone to take care of the animating for you, make sure to click this link to set up a call with our team of experts. Happy animating!
